Introduction
Connecting and accessing files between different computers within the same network can greatly streamline collaborative efforts, improve efficiency, and boost productivity. Whether working on projects or sharing important documents, the ability to fetch files from another device without physical data transfers can save time and effort. In this guide, we’ll walk you through the process of enabling your MacBook to access files from another laptop within the same network. By understanding network basics, preparing your devices, and configuring file-sharing settings, you can seamlessly connect your MacBook to a Windows laptop and access required files securely.
Understanding Network Basics
A computer network is a group of interconnected devices that can share data and resources. In a typical home or office network, devices connect to a central router, either by wireless (Wi-Fi) or wired (Ethernet) connections. The key to allowing a MacBook to access files on another laptop lies in leveraging this shared network infrastructure.
Types of Connections:
- Wired (Ethernet): Offers stable, fast data transfers with minimal interference.
- Wireless (Wi-Fi): Provides convenience and mobility but can be prone to interference and slower speeds.
Basic network protocols, such as Internet Protocol (IP) and Transmission Control Protocol (TCP), facilitate communication between devices. Each device within the network is assigned a unique IP address, enabling it to be located and accessed via network paths.
By ensuring both your MacBook and the other laptop are on the same network and properly communicating through these protocols, you lay the foundation for accessing shared files and resources.
Preparing Your MacBook and Other Laptop
Before diving into file-sharing configurations, it’s essential to prepare both devices.
For MacBook:
- Update macOS: Ensure that your MacBook runs the latest version of macOS for optimal performance and security.
- Connect to Network: Verify your MacBook is connected to the Wi-Fi or Ethernet network.
For Windows Laptop:
- Update the Windows OS: Keep the operating system updated to the latest version to minimize compatibility issues.
- Network Connection: Confirm that the laptop is connected to the same network as the MacBook, either via Wi-Fi or Ethernet.
These preliminary steps ensure that both devices are equipped with the necessary system updates and connected to the network, making the file-sharing process smoother and more secure.
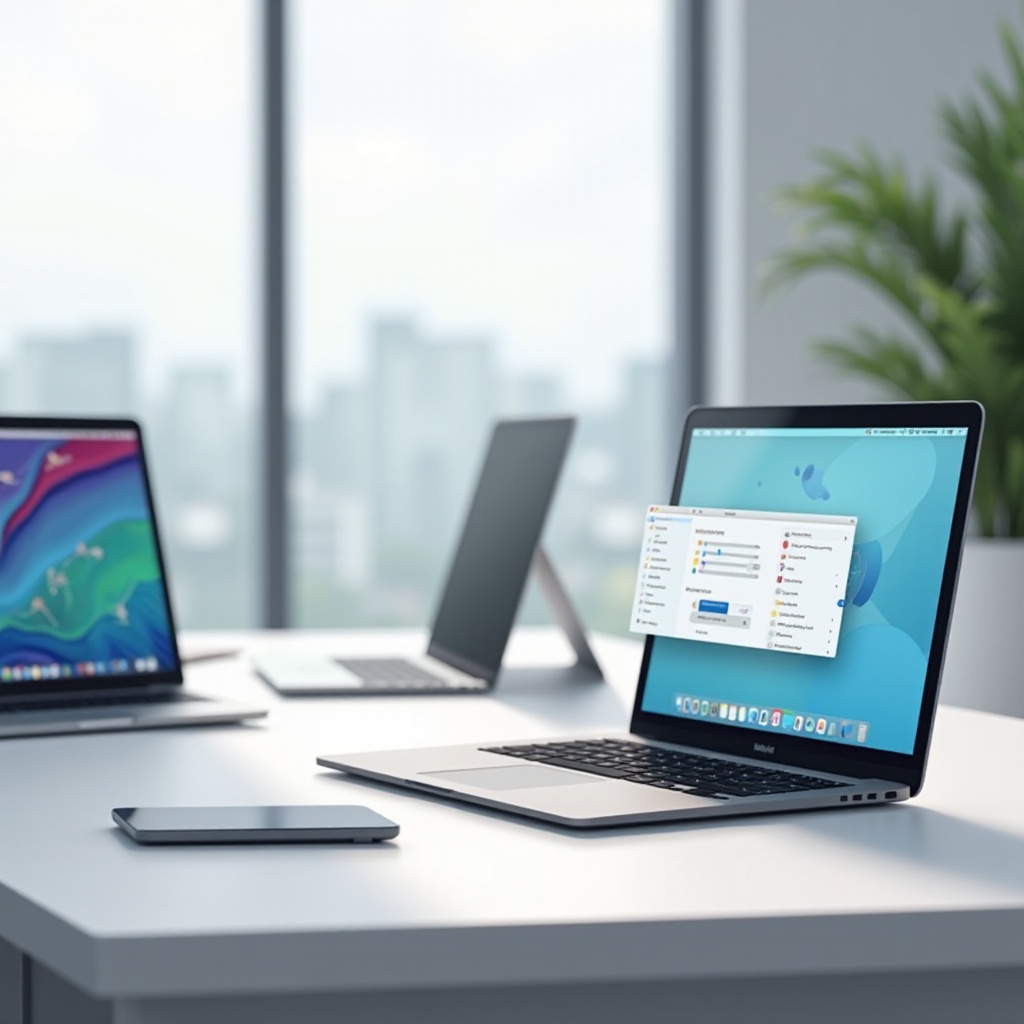
Enabling File Sharing on MacBook
To share files with other devices on the network, follow these steps to enable file sharing on your MacBook:
- System Preferences:
- Click on the Apple menu and select ‘System Preferences.
-
Choose ‘Sharing.
-
Turn On File Sharing:
- Check the box next to ‘File Sharing’ in the Sharing preferences.
-
Your MacBook’s name, IP address, and the network it is connected to will be displayed.
-
Add Shared Folders:
- Click the + sign under the ‘Shared Folders’ list.
-
Select the folders you wish to share with other devices on the network.
-
Set Permissions:
- Control how other users can interact with your shared folders by managing permissions.
-
Click the users’ list under ‘Users’ to specify whether users can read and write, read-only, or have no access.
-
Access Through SMB and AFP:
- Confirm that ‘Options’ enables the ‘Share files and folders using SMB,’ the protocol for Windows file sharing.
- Enable ‘Share files and folders using AFP’ for Mac-specific file sharing.
By following these steps, your MacBook will become discoverable on the network, allowing other devices to access the designated shared folders based on the permissions set.
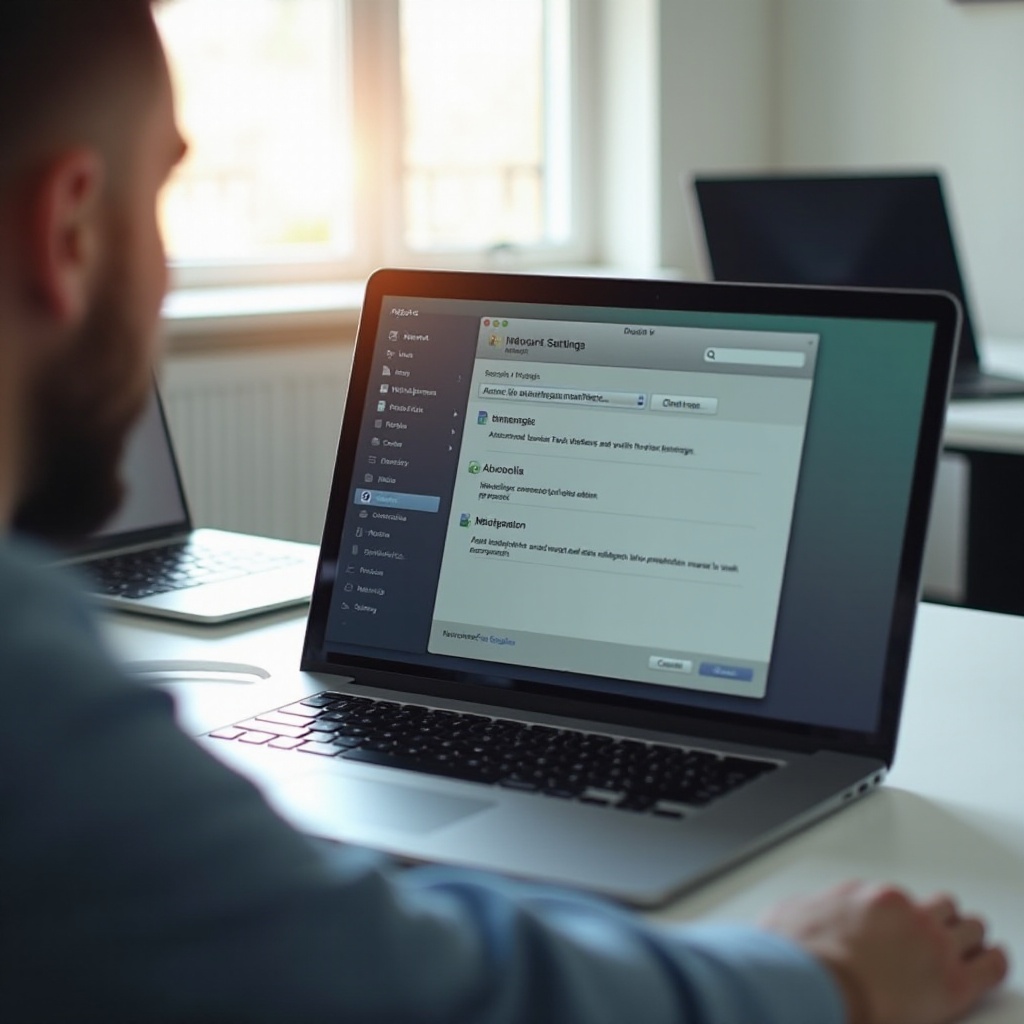
Setting Up File Sharing on Windows Laptop
Now that you’ve enabled file sharing on your MacBook, it’s time to set it up on the Windows laptop. By ensuring both devices can communicate seamlessly, you’ll enhance your ability to manage files effectively.
- File and Printer Sharing:
- Open the Control Panel, go to ‘Network and Sharing Center.
-
Select ‘Change advanced sharing settings.
-
Enable File Sharing:
-
Turn on ‘File and printer sharing’ under the appropriate network section (Private, Public, etc.).
-
Add Shared Folders:
- Right-click the folder you wish to share.
- Select ‘Properties’ and navigate to the ‘Sharing’ tab.
- Click ‘Share’ and choose the people or groups to share with.
-
Set permissions for each user or group.
-
Network Discovery:
- Ensure network discovery is turned on so the MacBook can find the Windows laptop in the network.
- In ‘Advanced sharing settings,’ toggle ‘Turn on network discovery’ to enabled.
These simple steps will allow the Windows laptop to present shared folders across the network, making them accessible to your MacBook.
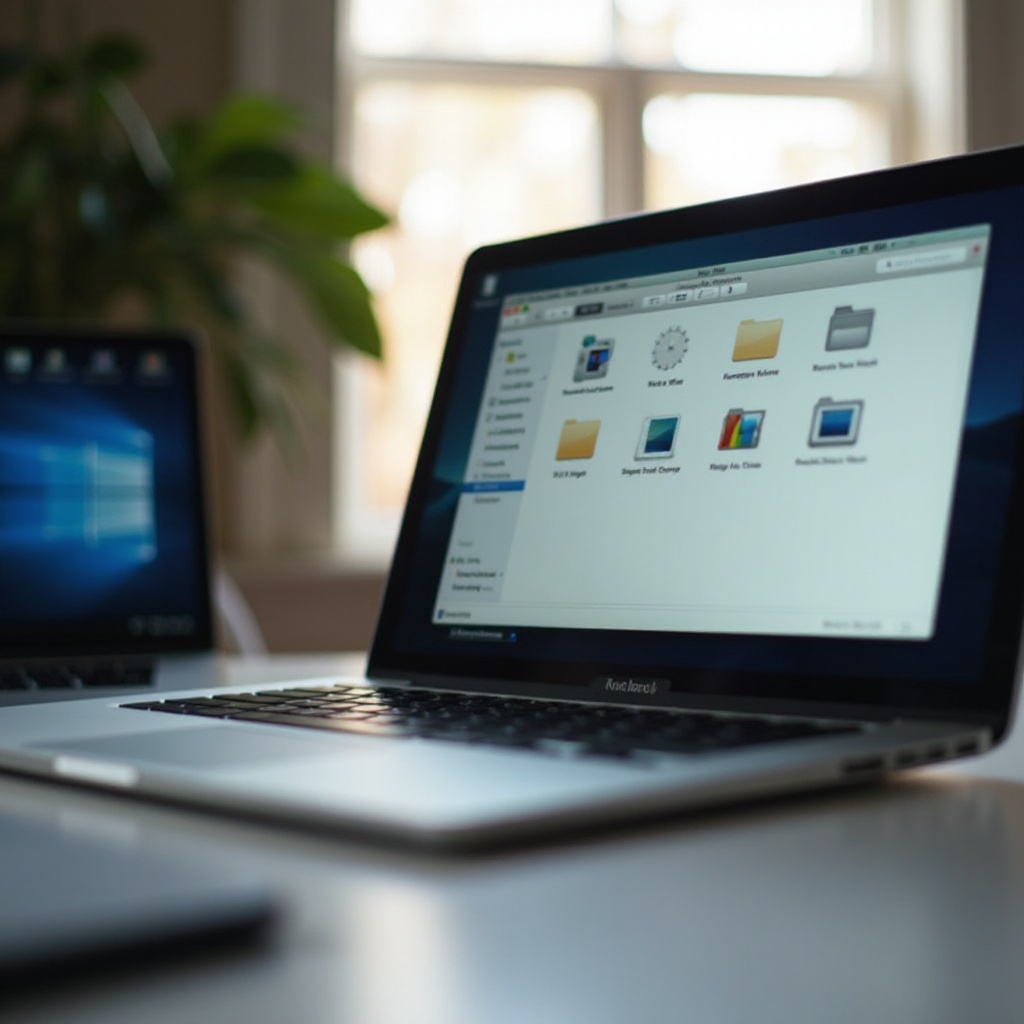
Accessing Shared Files from MacBook
With file sharing enabled on both devices, accessing shared files is straightforward.
- Open Finder:
-
Launch the Finder application on your MacBook.
-
Locate Shared Devices:
- Check the sidebar under ‘Locations.
-
Your network should list the Windows laptop as an available device.
-
Connect to the Windows Laptop:
- Click on the Windows laptop name.
-
Enter the correct username and password credentials to authenticate and gain access.
-
Browse and Transfer Files:
- Navigate through the shared folders.
- Drag and drop files between devices as needed.
This intuitive workflow ensures your MacBook can easily access and interact with shared files on the Windows laptop, facilitating efficient file transfers and resource sharing.
Troubleshooting Common Issues
Sometimes, hiccups occur while setting up file shares. Here are some troubleshooting tips:
- Check Network Connection:
-
Ensure both devices remain connected to the same network.
-
Re-confirm Shared Folder Permissions:
-
Verify permissions on both devices match the intended access level.
-
Restart Devices:
-
A quick reboot often resolves connectivity issues.
-
Firewall Settings:
- Ensure firewalls on both devices allow file-sharing protocols (SMB, AFP).
These common troubleshooting steps address typical issues, ensuring that the setup works smoothly.
Ensuring Security While Sharing Files
Security should always be a priority when sharing files. Here are some tips:
- Strong Passwords:
-
Use robust passwords for both devices and shared folders to prevent unauthorized access.
-
Limit Permissions:
-
Grant only necessary permissions (Read-only or Read/Write) to users.
-
Keep Systems Updated:
- Maintain updated software and security patches on all devices.
Following these best practices ensures that file sharing is secure and protected from potential threats.
Conclusion
Connecting a MacBook to a Windows laptop over the same network can significantly enhance productivity and simplify data exchange. By understanding network basics, preparing your devices, setting up and enabling file sharing, and addressing common issues, you position yourself for seamless and efficient file access. Prioritizing security ensures a safe environment for data transfer. Now, armed with these steps, you can unlock the full potential of your interconnected digital workspace.
Frequently Asked Questions
How do I ensure my file transfers are secure?
Use strong passwords, limit user permissions, and keep system software up to date with the latest security patches.
Can I access a Windows laptop if it’s using a different version?
Yes, as long as both devices support SMB protocol and are connected to the same network, the versions should not matter.
What should I do if my MacBook can’t find the other laptop on the network?
Restart both devices, check network connections, ensure network discovery is enabled, and verify firewall settings.