Introduction
Resizing photos on your MacBook can be a simple yet essential task. Whether you’re managing storage, optimizing images for the web, or fitting pictures into presentations, knowing how to effectively reduce photo size without compromising quality is key. This article provides a clear guide to different methods you can use on your MacBook.
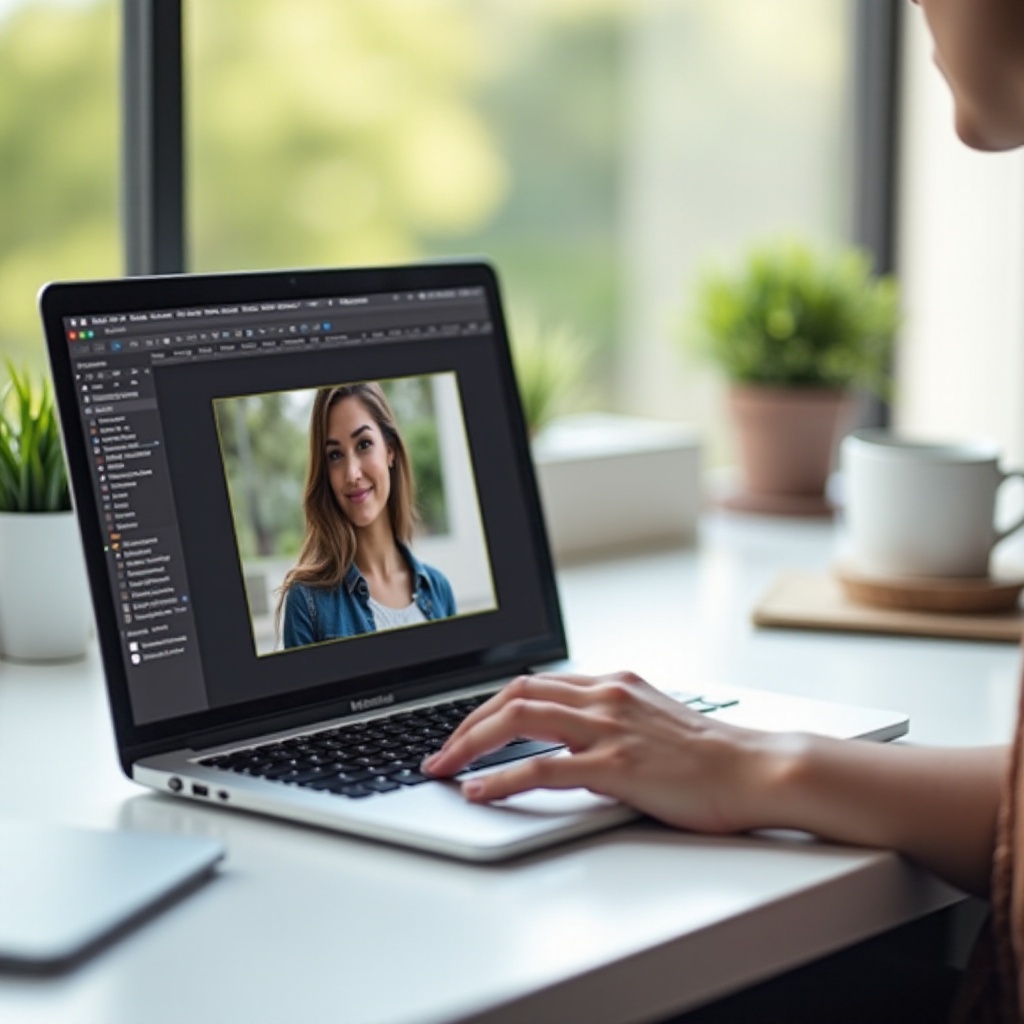
Using Preview App to Resize Photos
Preview is a versatile app already on your MacBook, capable of opening, viewing, and editing image files. It offers an easy and quick way to resize photos and is suitable for various users.
Steps to Open and Resize Images in Preview
- Open Preview: Locate and open the Preview app from your Applications folder.
- Open Image: Click ‘File’ in the menu bar and select ‘Open..’. Choose the photo you want to resize.
- Tools Menu: Go to the ‘Tools’ menu and select ‘Adjust Size…’.
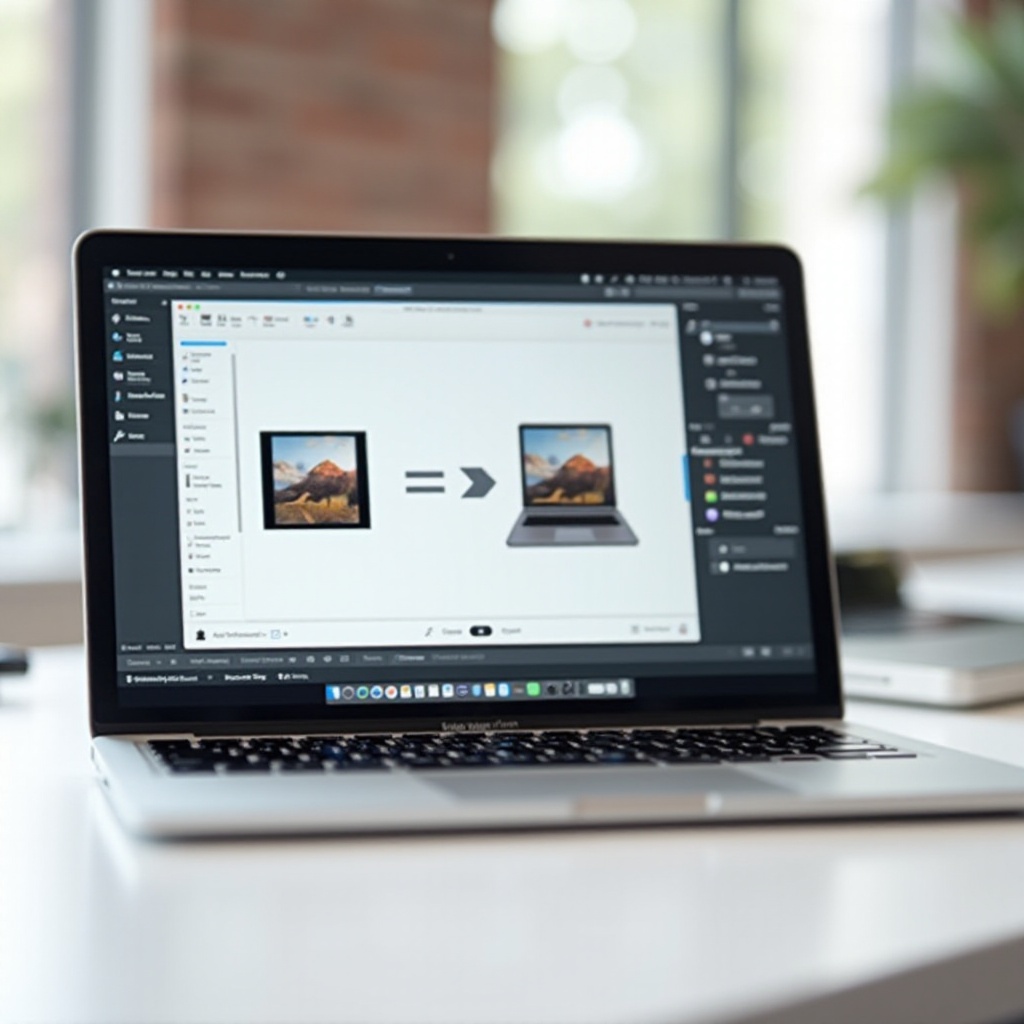
- Resize: A dialog box appears. Here you can set custom dimensions or choose from preset measurements. Make sure to check the ‘Scale proportionally’ option to maintain the image’s aspect ratio.
- Confirm Changes: Click ‘OK’ to apply the new size.
Saving the Resized Image
- Save: Choose ‘File’ and then ‘Save’ to apply changes to the original file. If you wish to keep the original size intact, select ‘Save As…’ and choose a new file name or location.
- Formats: You can also change the image’s format during saving (e.g., JPEG, PNG).
Using Preview is a straightforward yet powerful method to manage your photos without requiring additional software.
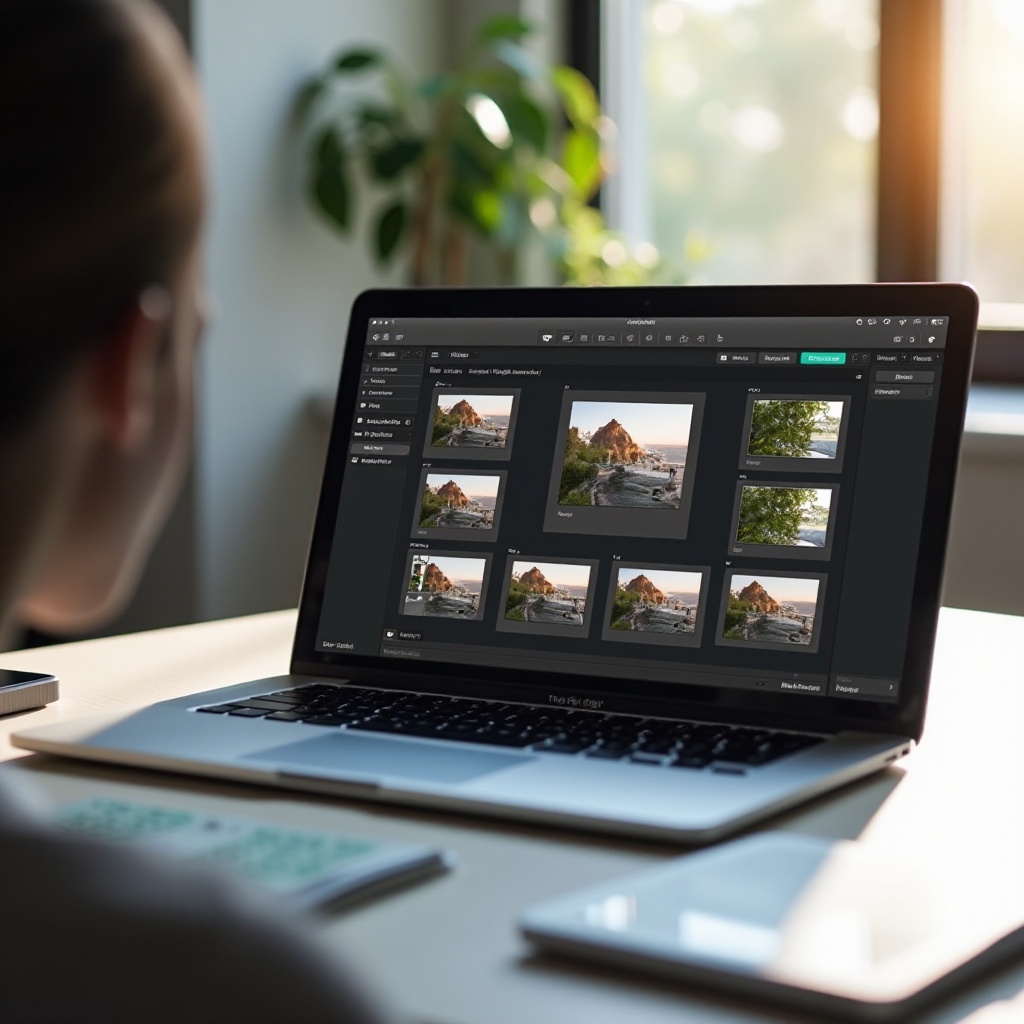
Resizing Images with Photos App
The built-in Photos app is another excellent tool for managing and resizing images on a MacBook. It offers more functionality related to photo organization and editing.
Importing and Editing Images in Photos App
- Open Photos: Launch the Photos app from your Applications folder.
- Import Image: Drag and drop the image into the Photos app or use the ‘Import’ option from the ‘File’ menu.
- Edit Mode: Double-click the image to open it, and click ‘Edit’ in the top-right corner.
- Crop Tool: Use the Crop tool, where you can adjust the size manually or select aspect ratios from preset options.
Exporting the Resized Photo
- Export: After resizing, click ‘Done’ to save changes within the app. For use outside the app, go to ‘File’ and select ‘Export’.
- Settings: Choose ‘Export X photos’ and adjust the photo quality, format, and size options as needed.
- Save Location: Pick a destination folder for the resized image and click ‘Export’.
Using the Photos app integrates seamlessly with your existing photo management workflow.
Online Tools for Reducing Image Size
Online tools offer a quick way to resize photos without needing to install any software. They can be particularly helpful for occasional use or when working away from your main device.
Popular Free Online Tools
- TinyPNG: Compresses and resizes images efficiently.
- ImageResizer.com: Offers simple batch resizing options.
- Resizeimage.net: Provides detailed control over the image resizing process.
Step-by-Step Guide to Using a Specific Online Tool
Let’s look at how to use TinyPNG:
1. Visit Website: Go to tinypng.com.
2. Upload Image: Drag and drop or upload an image file.
3. Resize Options: TinyPNG compresses the image while maintaining quality; no additional settings required.
4. Download: Once processed, click ‘Download’ to save the resized image.
Comparing Before and After Results
Most tools, like TinyPNG, will display the original and reduced file sizes, allowing you to visually compare quality and size before downloading.
Online tools are a convenient option for users needing immediate results without complex steps.
Utilizing Third-Party Apps
For those who seek broader functionalities and flexibility, third-party apps can be very helpful.
Top Apps for Image Resizing on MacBook
- Pixelmator: A robust editing tool with easy resizing options.
- Affinity Photo: Powerful for professionals.
- GIMP: Open-source and feature-packed.
Features Comparison
- Pixelmator: User-friendly, integrates well with macOS.
- Affinity Photo: Advanced features suitable for professional workflows.
- GIMP: Comprehensive and free, with a steeper learning curve.
How to Resize Using a Selected App
Let’s take GIMP as an example:
1. Open GIMP: Launch the app and open your image.
2. Resize Tool: Go to ‘Image’ in the menu, then ‘Scale Image’.
3. Set Dimensions: Enter new width and height, ensuring the ‘Chain’ symbol is linked to maintain the aspect ratio.
4. Apply and Save: Click ‘Scale’ and save the resized image via ‘File’ and ‘Export As…’.
Third-party apps can provide more control and extra editing functionalities.
Batch Resizing Techniques
Handling multiple photos can become time-consuming if done individually. Batch resizing can streamline this process.
Using Preview’s Batch Processing
- Open Multiple Images: Select and open all images in Preview.
- Tools: Go to ‘Tools’ and choose ‘Adjust Size…’. The resize options apply to all selected items.
Third-Party Apps Supporting Batch Resizing
There are also third-party apps like XnConvert:
1. Open App: Load multiple images.
2. Resize: Apply size specifications to the batch.
3. Save All: Export resized images in one go.
Batch resizing techniques efficiently manage collections of images, saving significant time.
Conclusion
Decreasing photo size on a MacBook can be done through various methods, from built-in apps like Preview and Photos to online resources and third-party applications. Each method has its distinct advantages, catering to different user needs and preferences.
Frequently Asked Questions
Can image quality be maintained when resizing photos?
Yes, by maintaining the aspect ratio and choosing appropriate resizing techniques, image quality can be largely preserved.
Is it safe to use online tools for resizing images?
Most well-known tools like TinyPNG use secure protocols, but avoid uploading sensitive images to online tools for privacy reasons.
What are the advantages of using third-party apps for photo resizing?
Third-party apps often provide more advanced features, better integration with professional workflows, and support a wide range of file formats.