Introduction
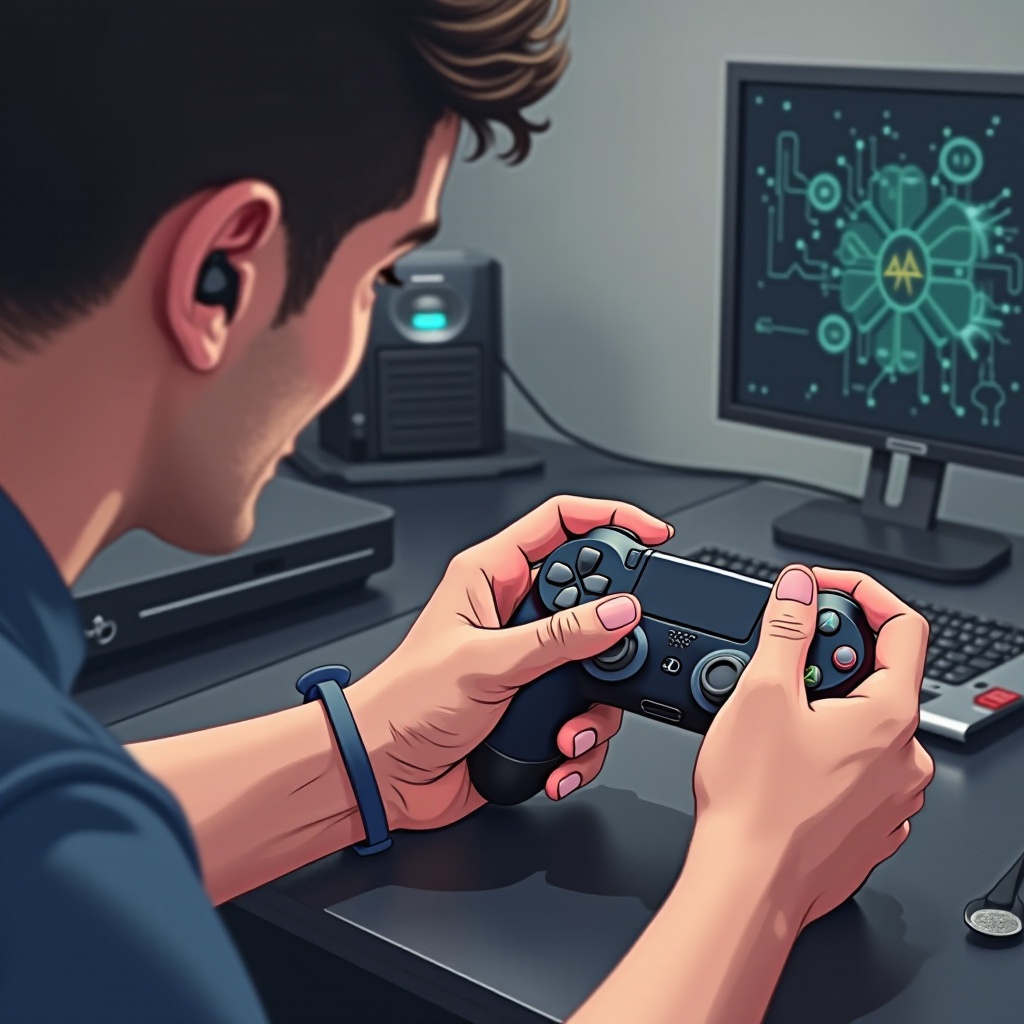
Loud noise issues in controller earphones can be frustrating and can disrupt your gaming or multimedia experience. Whether you’re playing intense video games, watching a movie, or listening to music, an unexpected loud noise can ruin the moment. This guide delves into understanding the types of noises, diagnosing the problem, and offering solutions to ensure your earphones deliver crystal-clear audio.
Understanding the Types of Noises
Before fixing loud noises in controller earphones, it’s important to identify the types of noises you might encounter:
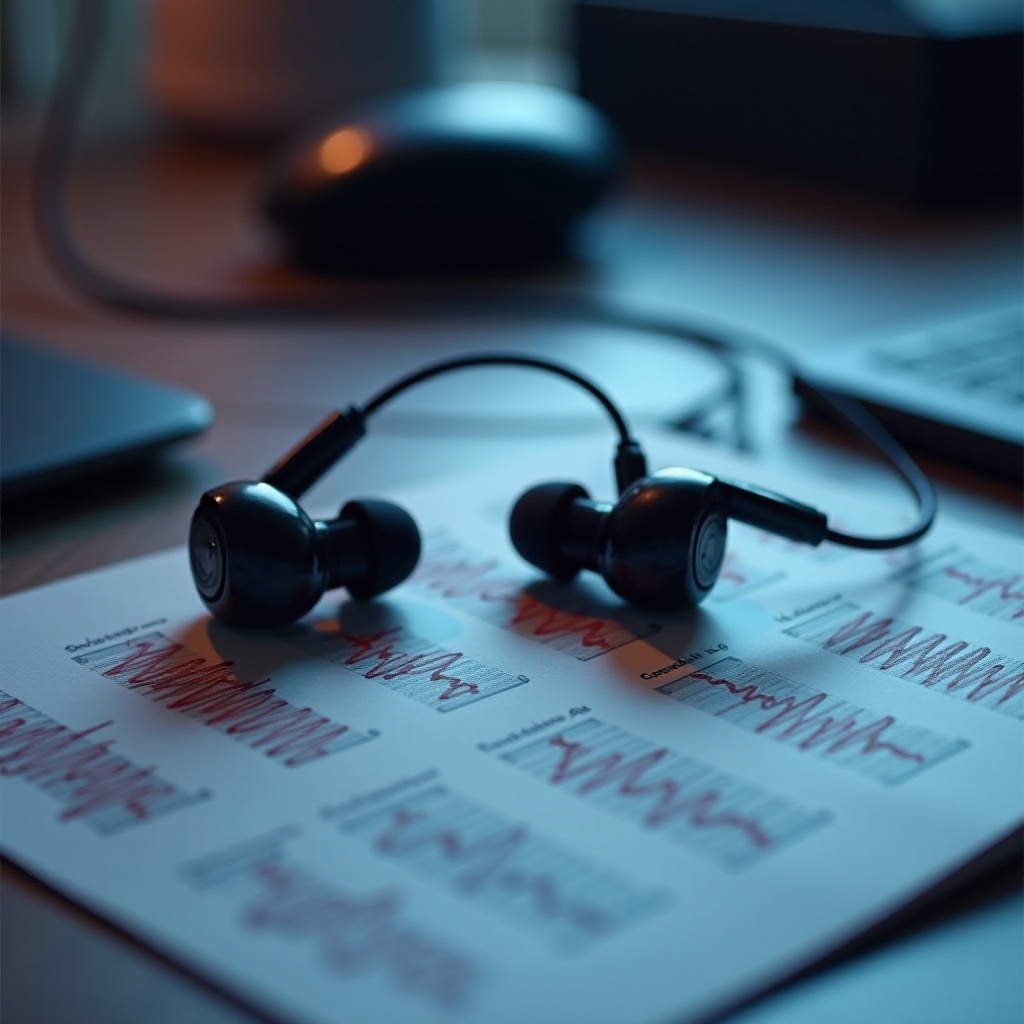
- Static Noise: This sounds like a crackling or hissing noise and is often caused by electrical interference.
- Popping Sounds: Irregular popping or clicking sounds can be signs of physical damage within the earphone components.
- Distortion: High levels of distortion at both low and high volumes can stem from poor component quality.
- Feedback: A continuous humming or high-pitched squeal usually indicates some form of interference or a compromised connection.
Recognizing these different types of noises will assist you in diagnosing and resolving your earphone issues more effectively.
Common Causes of Loud Noises in Controller Earphones
Several factors can contribute to the loud noise issues in your controller earphones. Understanding these common causes helps to approach the problem methodically.
Electrical Interference
Modern electronics emit electromagnetic fields, which can interfere with your earphones. Devices such as microwaves, smartphones, or Wi-Fi routers can be primary culprits. Also, if your earphones are not adequately shielded, electrical noise can easily penetrate them.
Physical Damage
Physical damage to the wires or earphone components can cause loud noises. Damage might result from daily wear and tear, accidental drops, or improper handling. Issues like frayed cords or broken connections inside the earphones are common culprits.
Component Quality
Lower quality earphones, or those produced with cheaper materials, are more prone to issues. Poor-quality soldering, substandard drivers, and inferior wires can easily cause the earphones to produce loud noise or distortion.
Diagnosing the Problem
Diagnosing loud noise issues will help you apply the right solution. Here’s a step-by-step process for you:
Step-by-Step Diagnostic Process
- Check Connections: Begin by checking the connections between your earphones and controller. Ensure the plug is firmly inserted and test a different pair of earphones to isolate the problem.
- Inspect for Damage: Visually inspect your earphones for any signs of damage, such as frayed wires or cracked casing.
- Test Across Devices: Connect your earphones to another device, such as a phone or computer, to determine if the noise issue persists.
- Rebooting & Resetting: Sometimes, a simple reboot or resetting the controller to default settings may resolve the issue.
Using Tools and Apps for Testing
Several tools and apps can assist in diagnosing audio issues. Audio diagnostic tools available on various platforms can help identify fluctuations and inconsistencies in audio output, highlighting problem areas in your earphones.
Effective Solutions to Fix Loud Noises
After diagnosing the problem, it’s time to fix it. Here are some effective solutions:
Replacing Damaged Parts
If you notice physical damage, replacing the damaged part can resolve the issue. This could involve replacing the cable, earphone tips, or internal components depending on the severity of the damage.
Upgrading Components
In cases where component quality is the issue, consider upgrading to higher quality parts. Investing in better cables or better drivers can significantly improve sound quality and mitigate noise issues.
Professional vs. DIY Repairs
For more complex repairs, evaluate whether you can perform the repair yourself or if you need a professional. DIY repairs can save money, but they require a level of technical skill and the right tools. Professional repairs, on the other hand, ensure expertise but might come at a higher cost.
Preventive Measures for Long-Term Performance
To maintain the optimal performance of your controller earphones and avoid loud noise issues in the future, adopting some preventive measures is essential.
Maintenance Tips
- Regular Cleaning: Clean your earphones regularly to prevent dirt and debris from causing audio issues.
- Check Connections: Frequently check and secure the connections between your earphones and controller to avoid wear and tear.
Proper Storage
- Use a Case: Store your earphones in a protective case when not in use.
- Avoid Tangling: Use cable organizers to prevent the wires from tangling, which can cause internal damage.
Choosing High-Quality Earphones
Investing in high-quality earphones from reputable manufacturers can prevent many noise issues. While they may cost more upfront, their longevity and better performance offer a good return on investment.

Conclusion
Understanding the cause of loud noises in controller earphones and implementing the right fixes can significantly enhance your listening experience. By diagnosing issues correctly and choosing effective solutions, you can ensure your earphones continue to perform optimally. Following preventive measures will also help maintain their condition and avoid future noise problems.
Frequently Asked Questions
What should I do if my earphones still make noise after trying these fixes?
If your earphones still produce noise after attempting the suggested fixes, it may be time to seek professional repair services or consider replacing them with new, high-quality earphones.
Can loud noises damage my earphones or hearing?
Yes, loud noises can damage both your earphones and your hearing. Prolonged exposure to loud sounds can deteriorate internal components and potentially cause hearing loss.
How often should I replace or upgrade my earphones?
It’s best to replace or upgrade your earphones every couple of years, depending on usage and wear. Higher quality earphones may last longer but should be checked periodically for any signs of wear and degradation.